How to Create & Manage Interview Kit Templates
Last updated: July 25, 2026
You can create custom Interview Kits — structured evaluation guides attached to specific interview stages within a job.
How to Create an Interview Kit
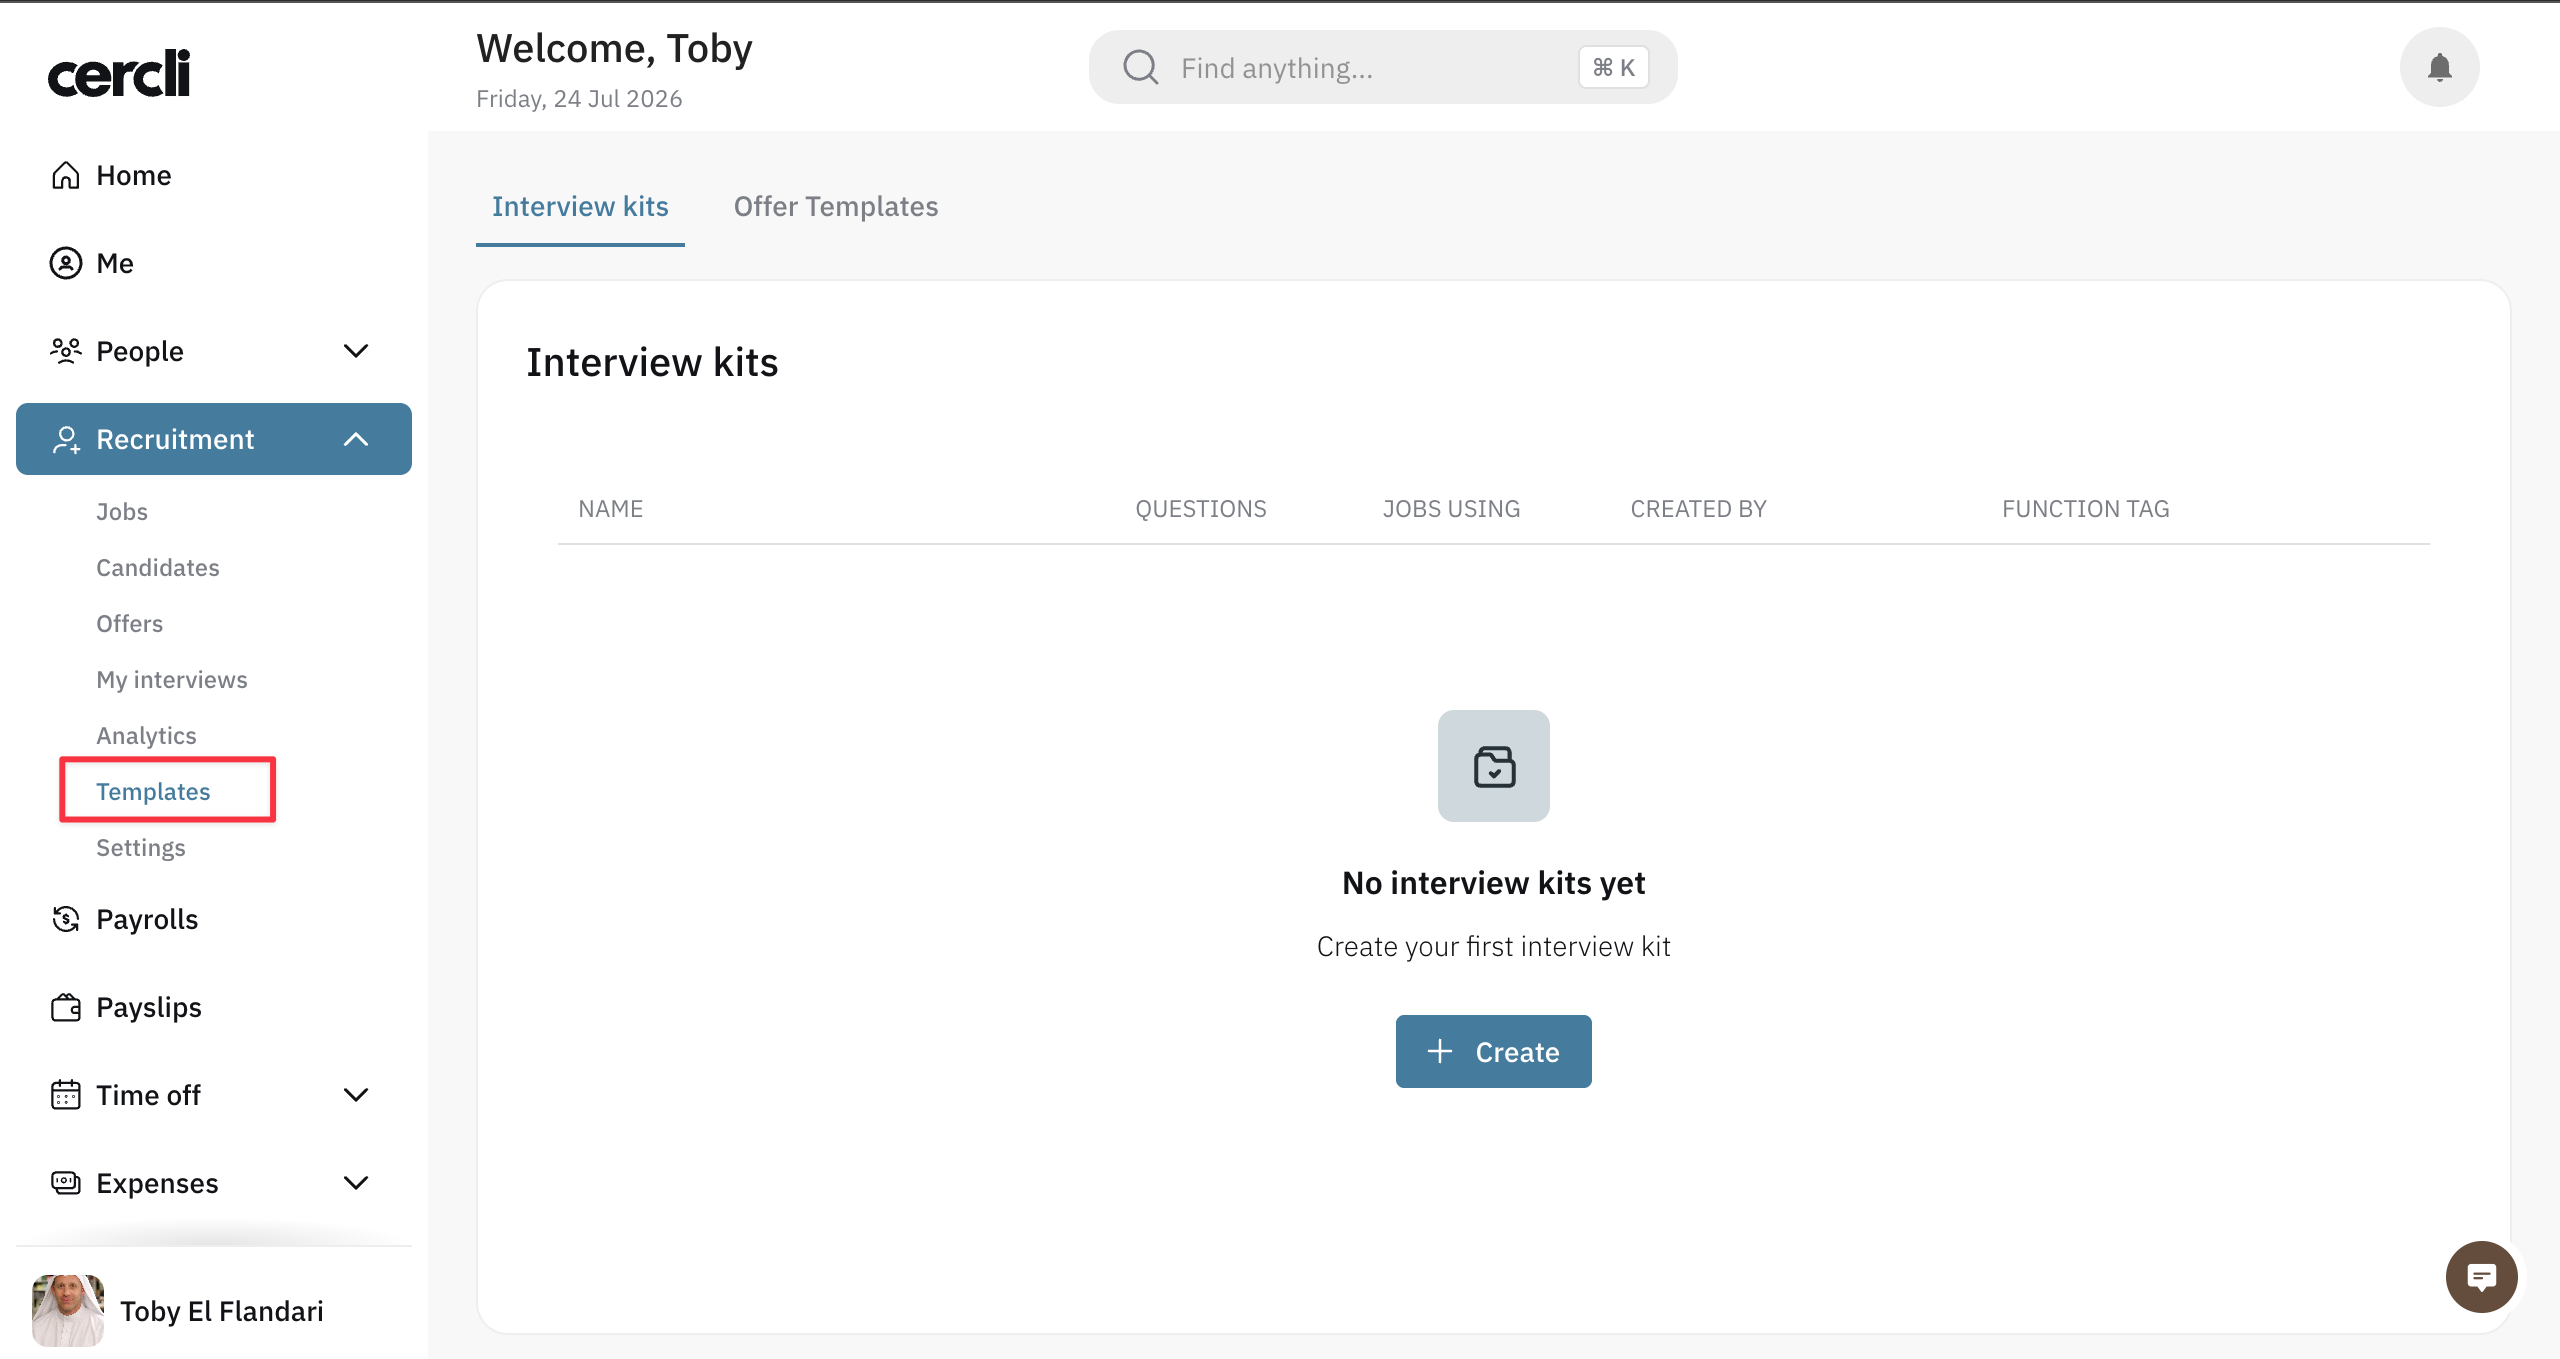
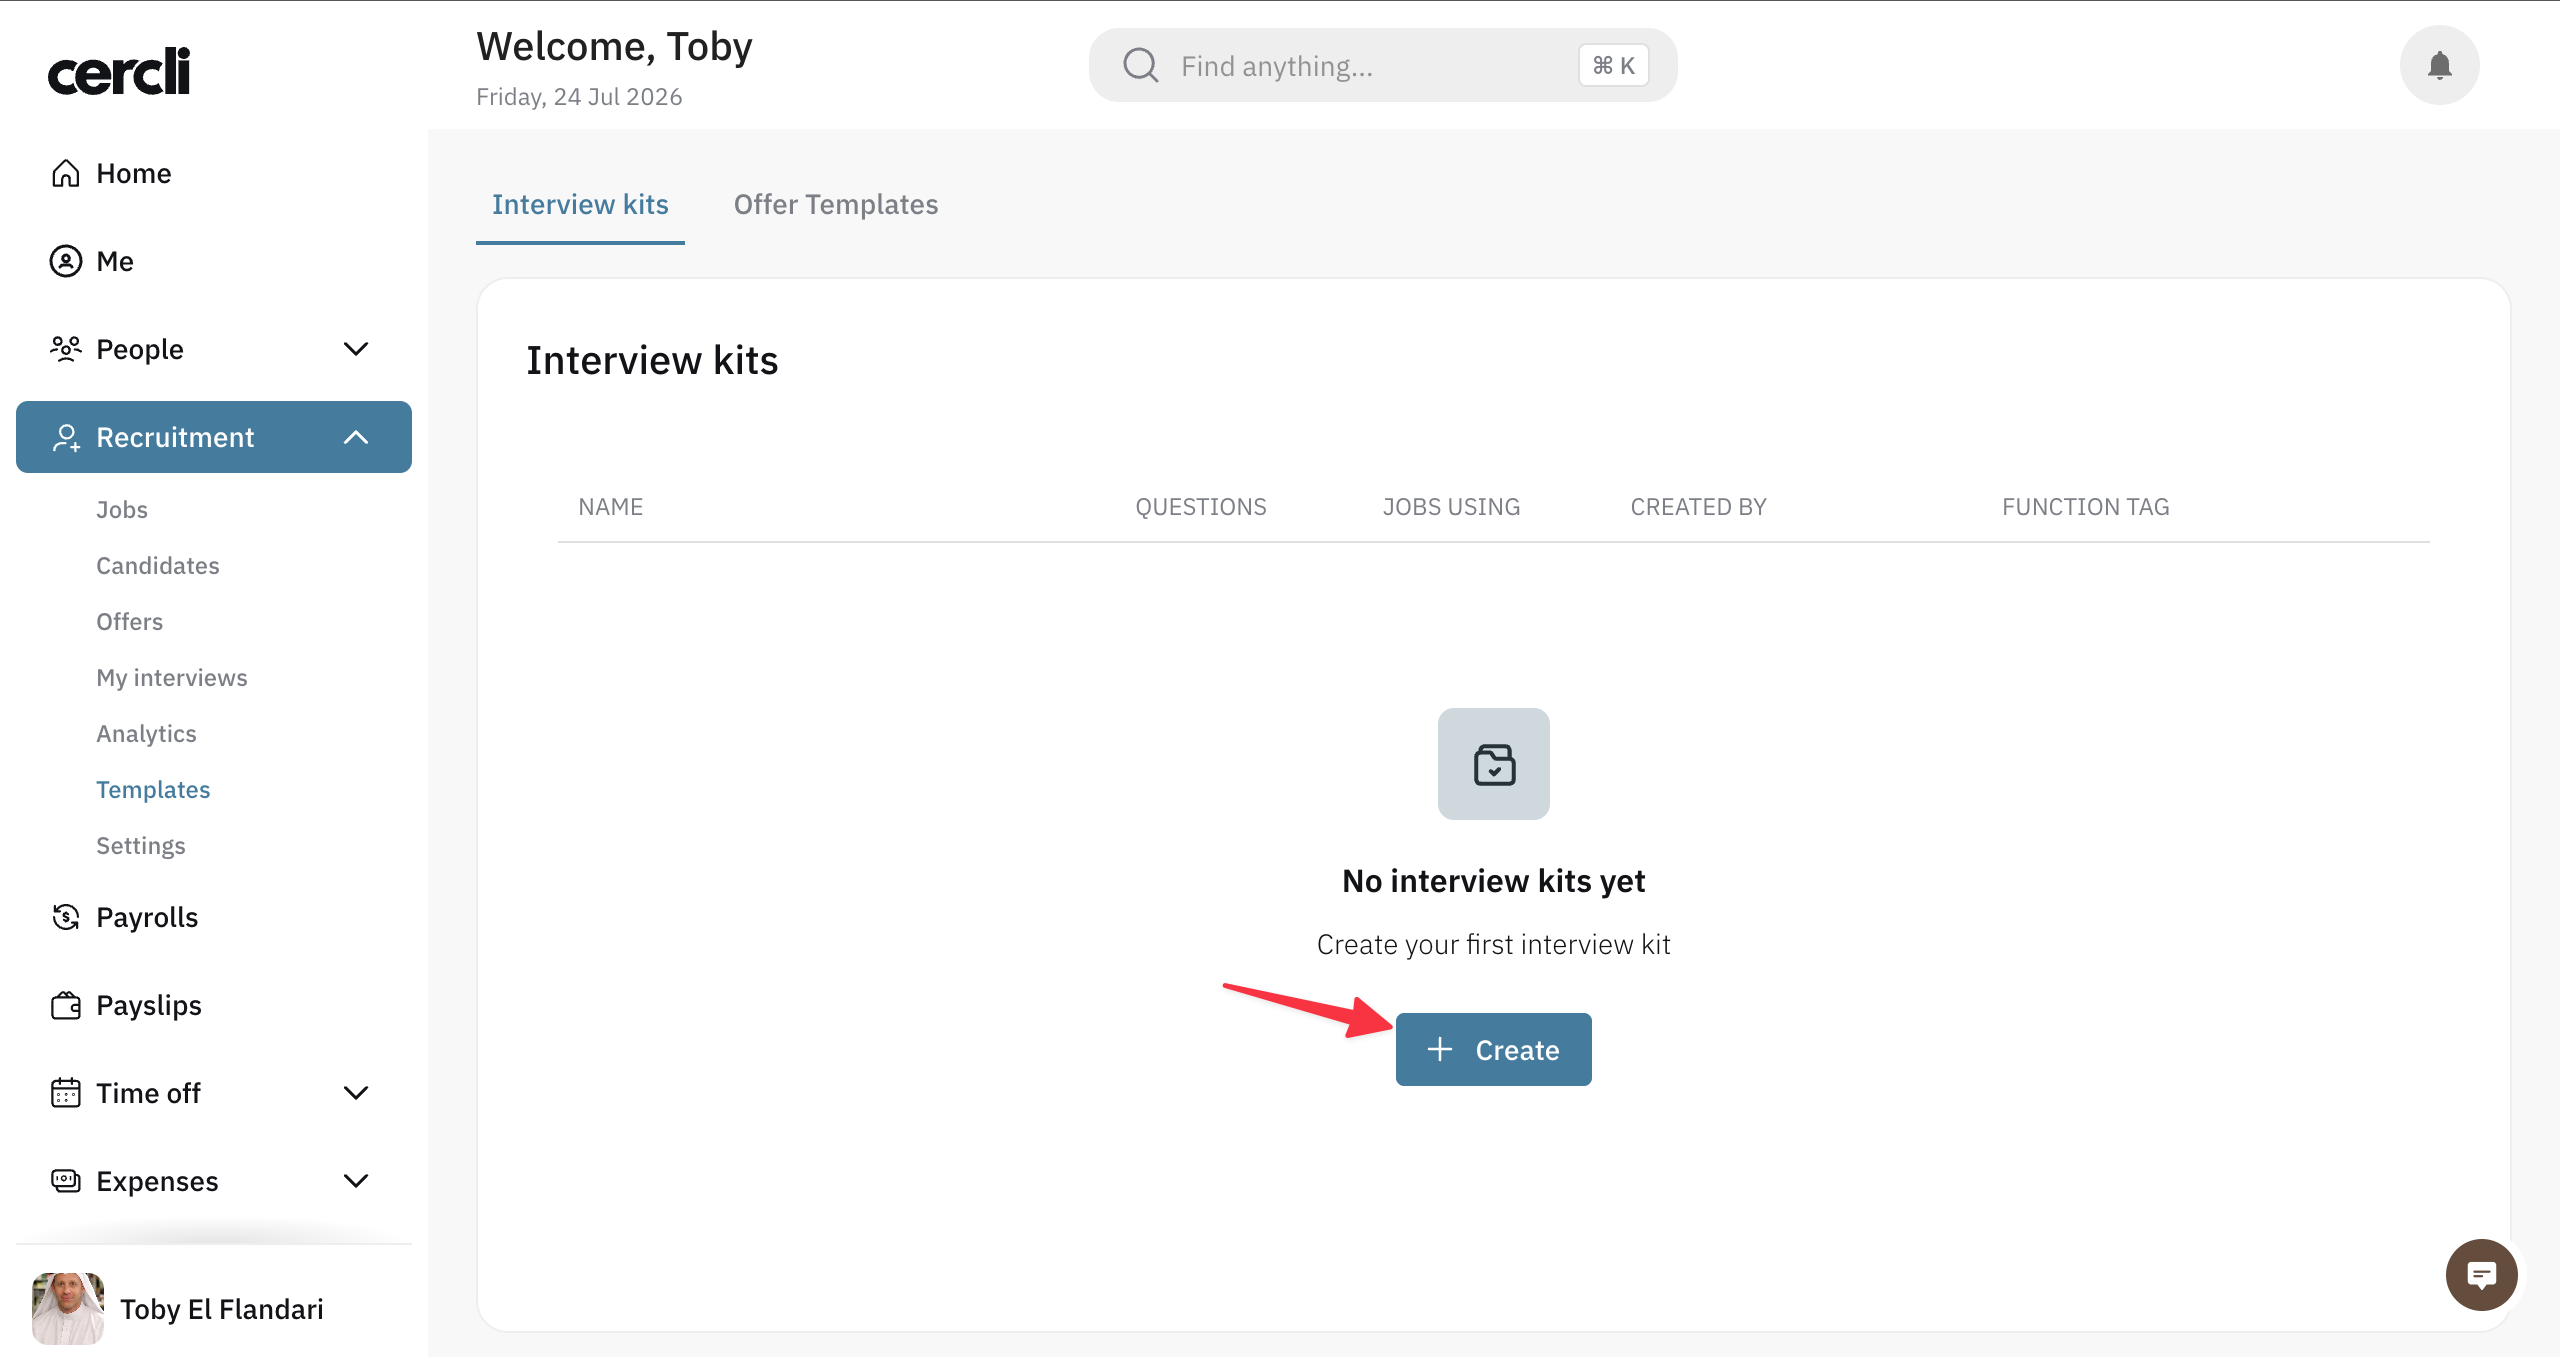
To create an interview kit template, go to the Templates tab under the Recruitment module and click Create. This opens the template builder.
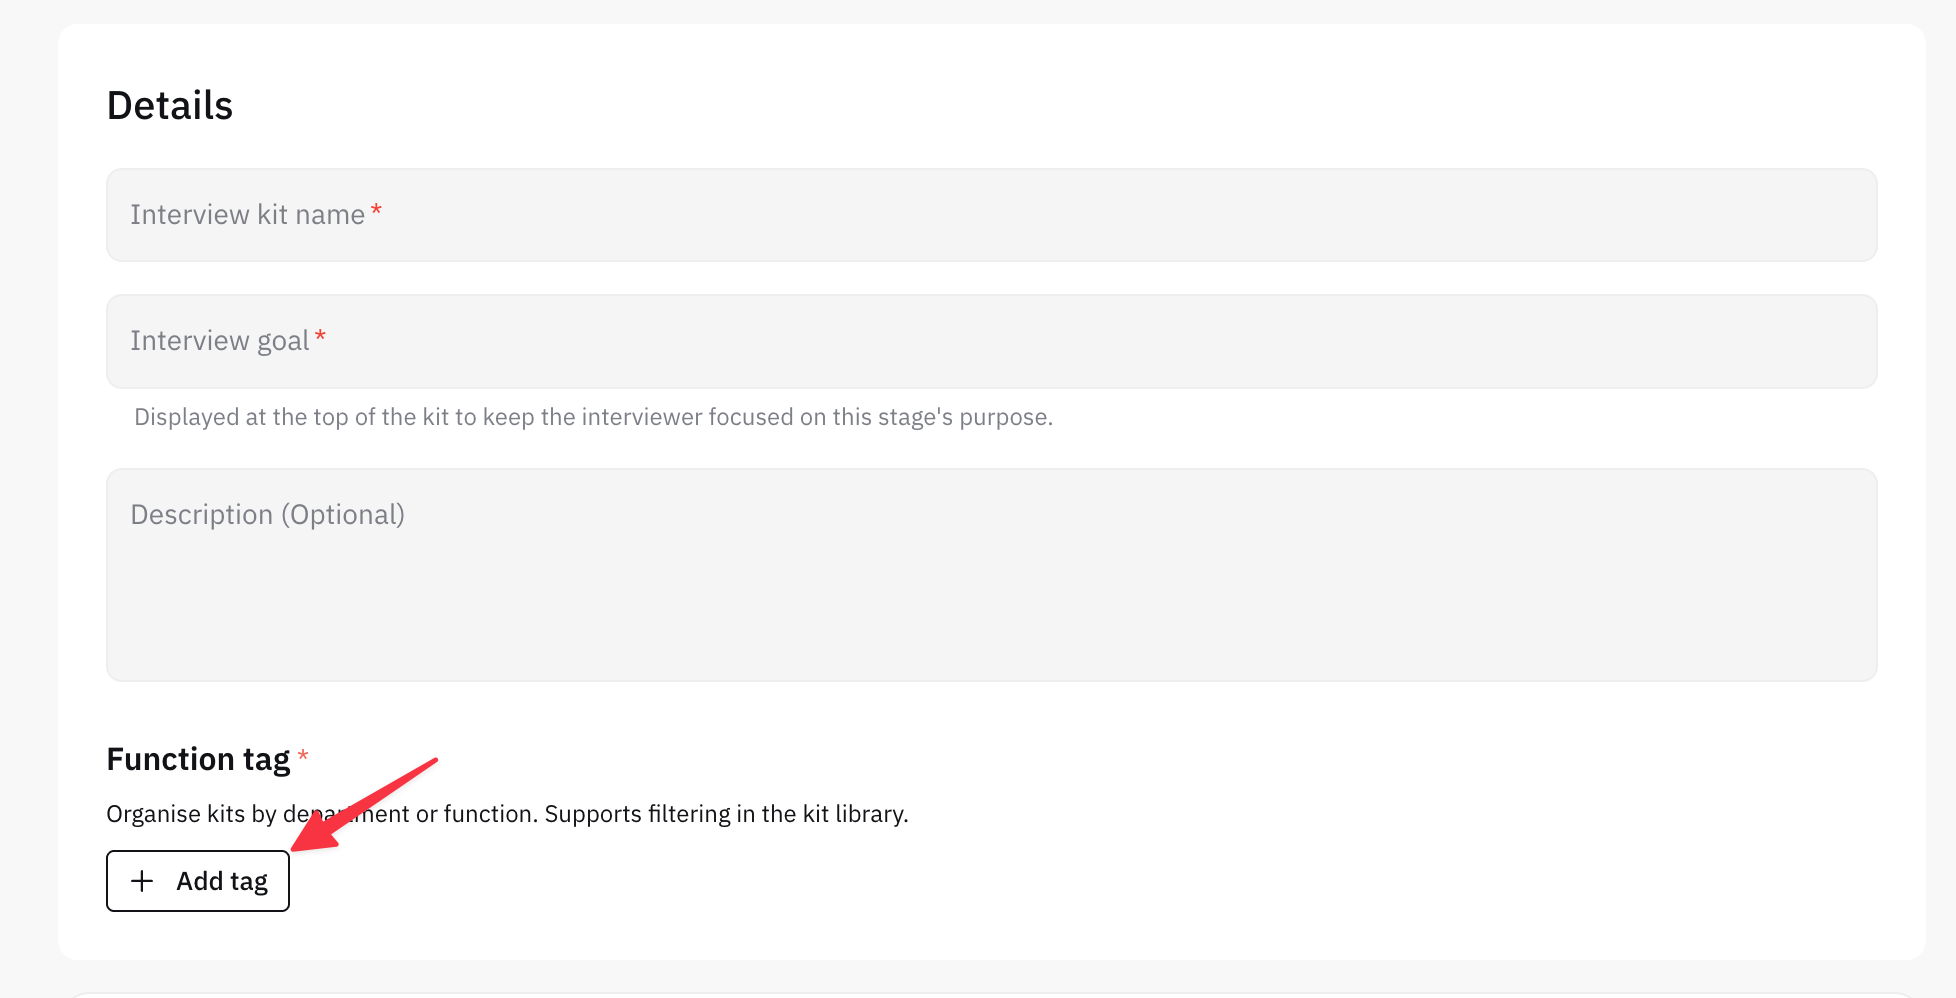
Define the interview kit name and interview goal, then select a function tag from the list of available ones — or create a new one. Function tags help you organize your kits at scale.
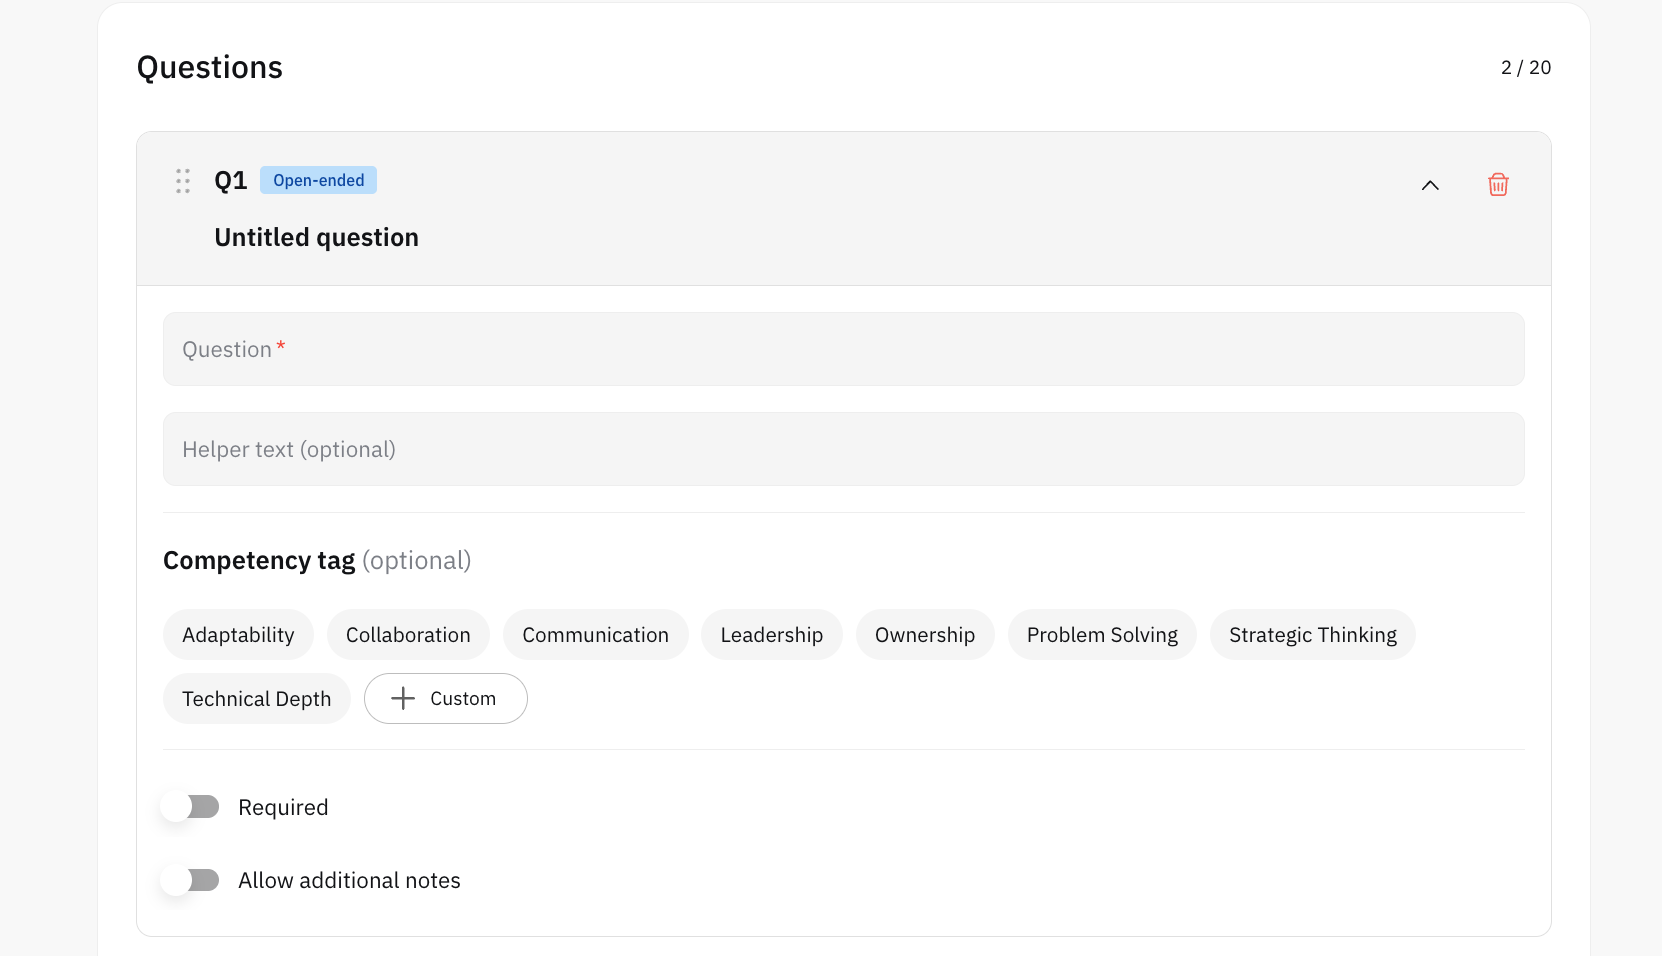
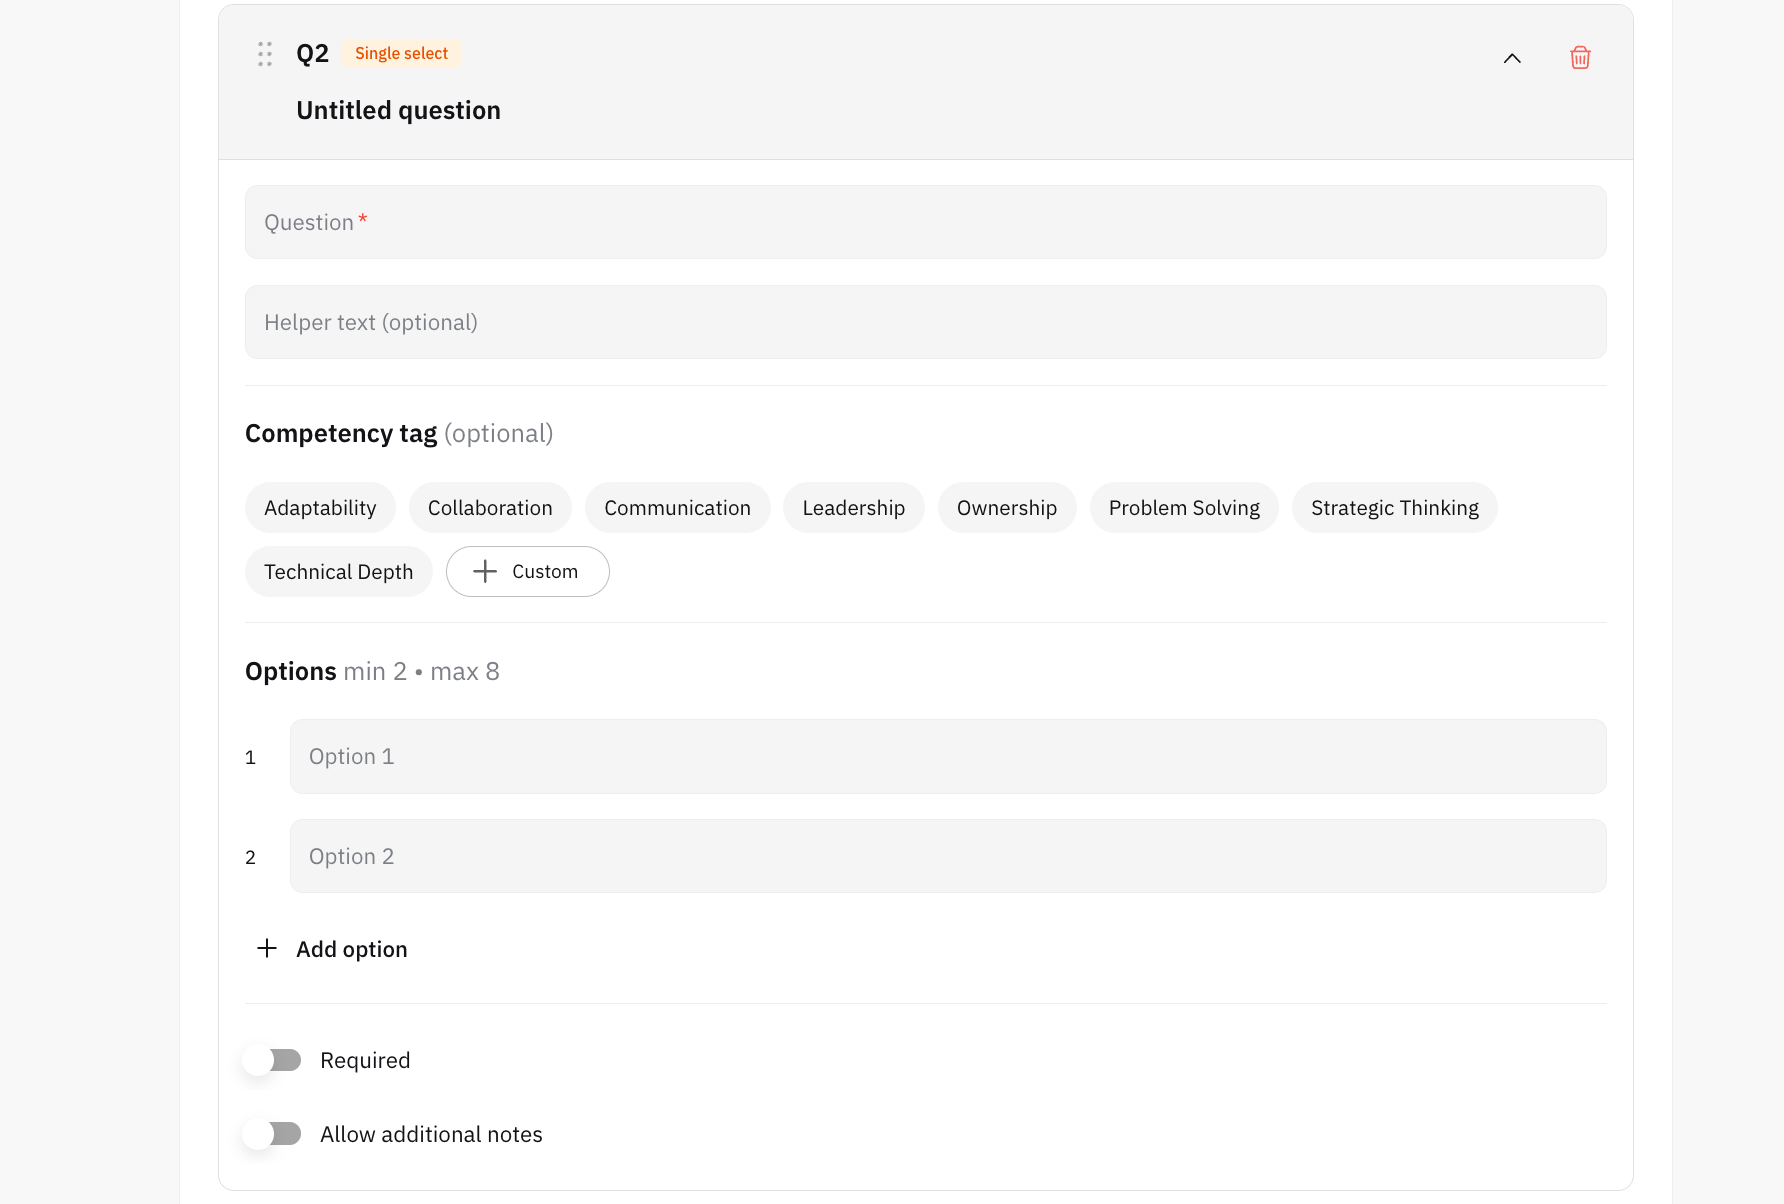
Once the basic details are filled in, you can start building your questions. There are four question types available: open-ended, yes/no, single-select, and multi-select.
For each question, you can define:
The question text
Helper text, in case additional context is needed
Competency tags — choose from the predefined list or create your own
Whether the question is required for interviewers
Whether interviewers can add additional notes
The question's order in the sequence
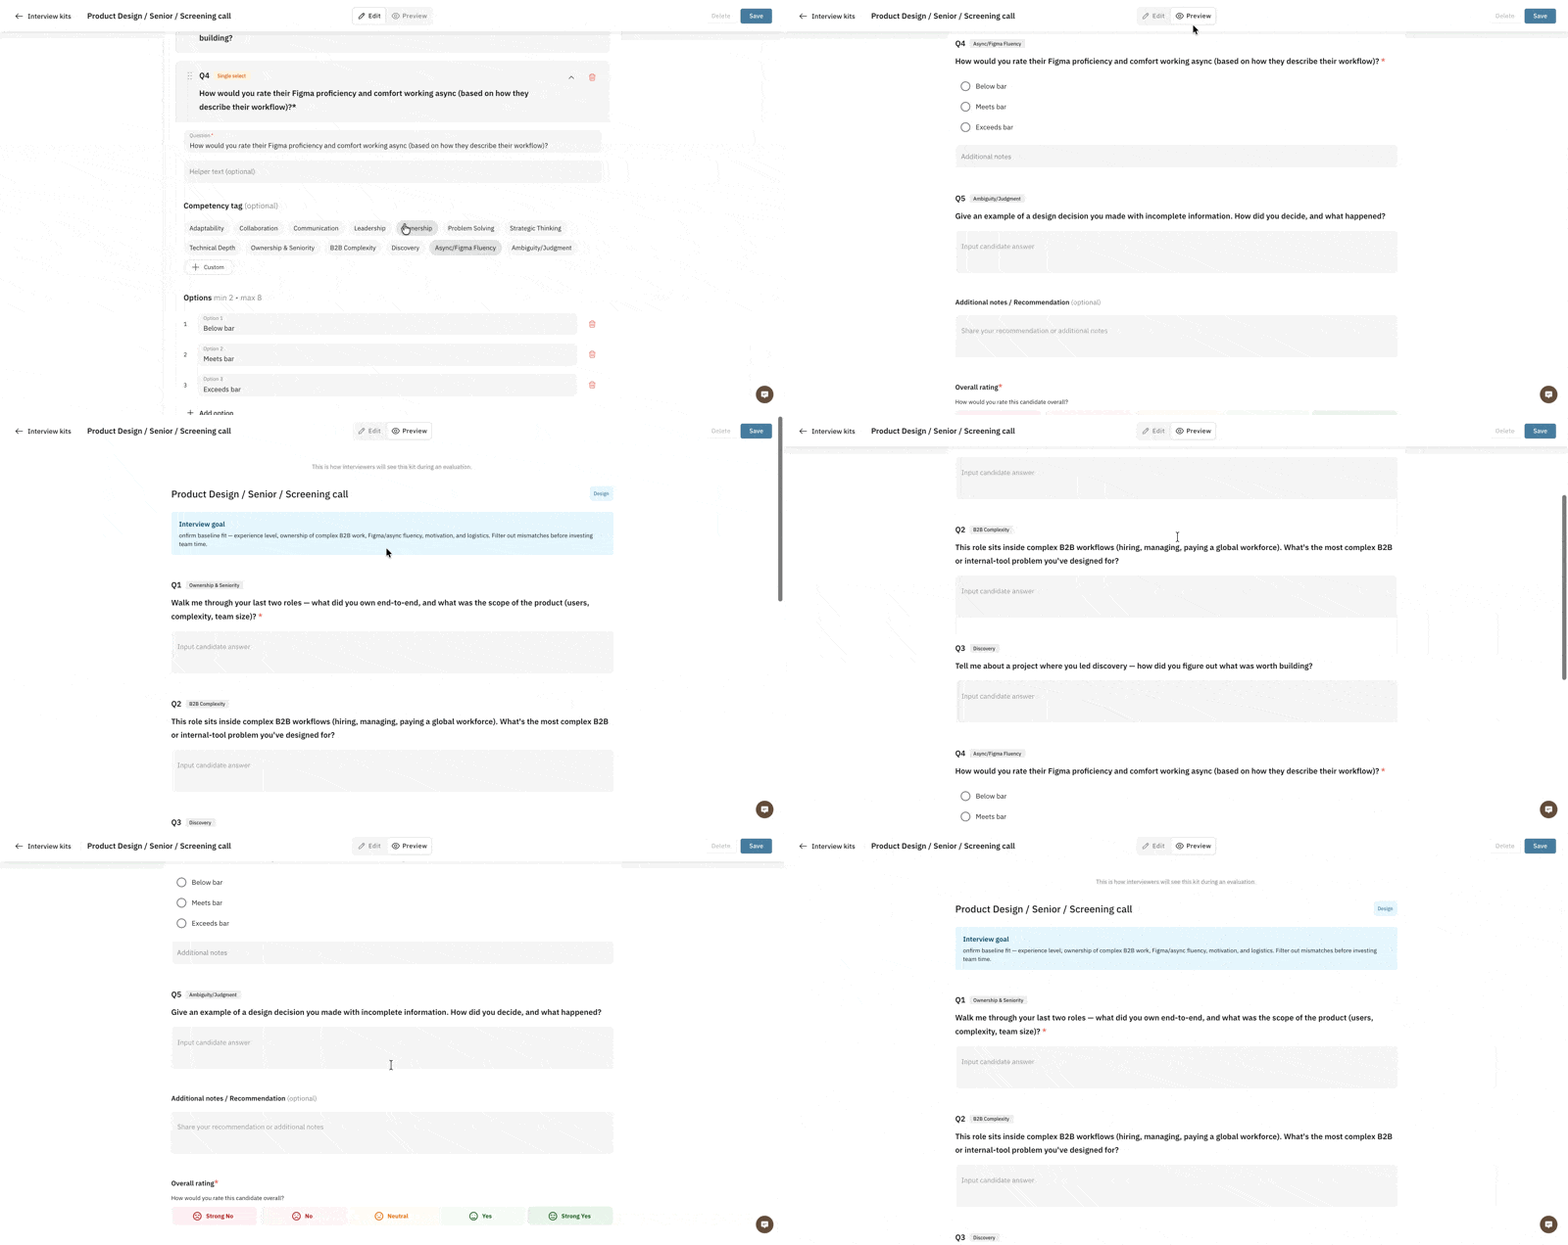
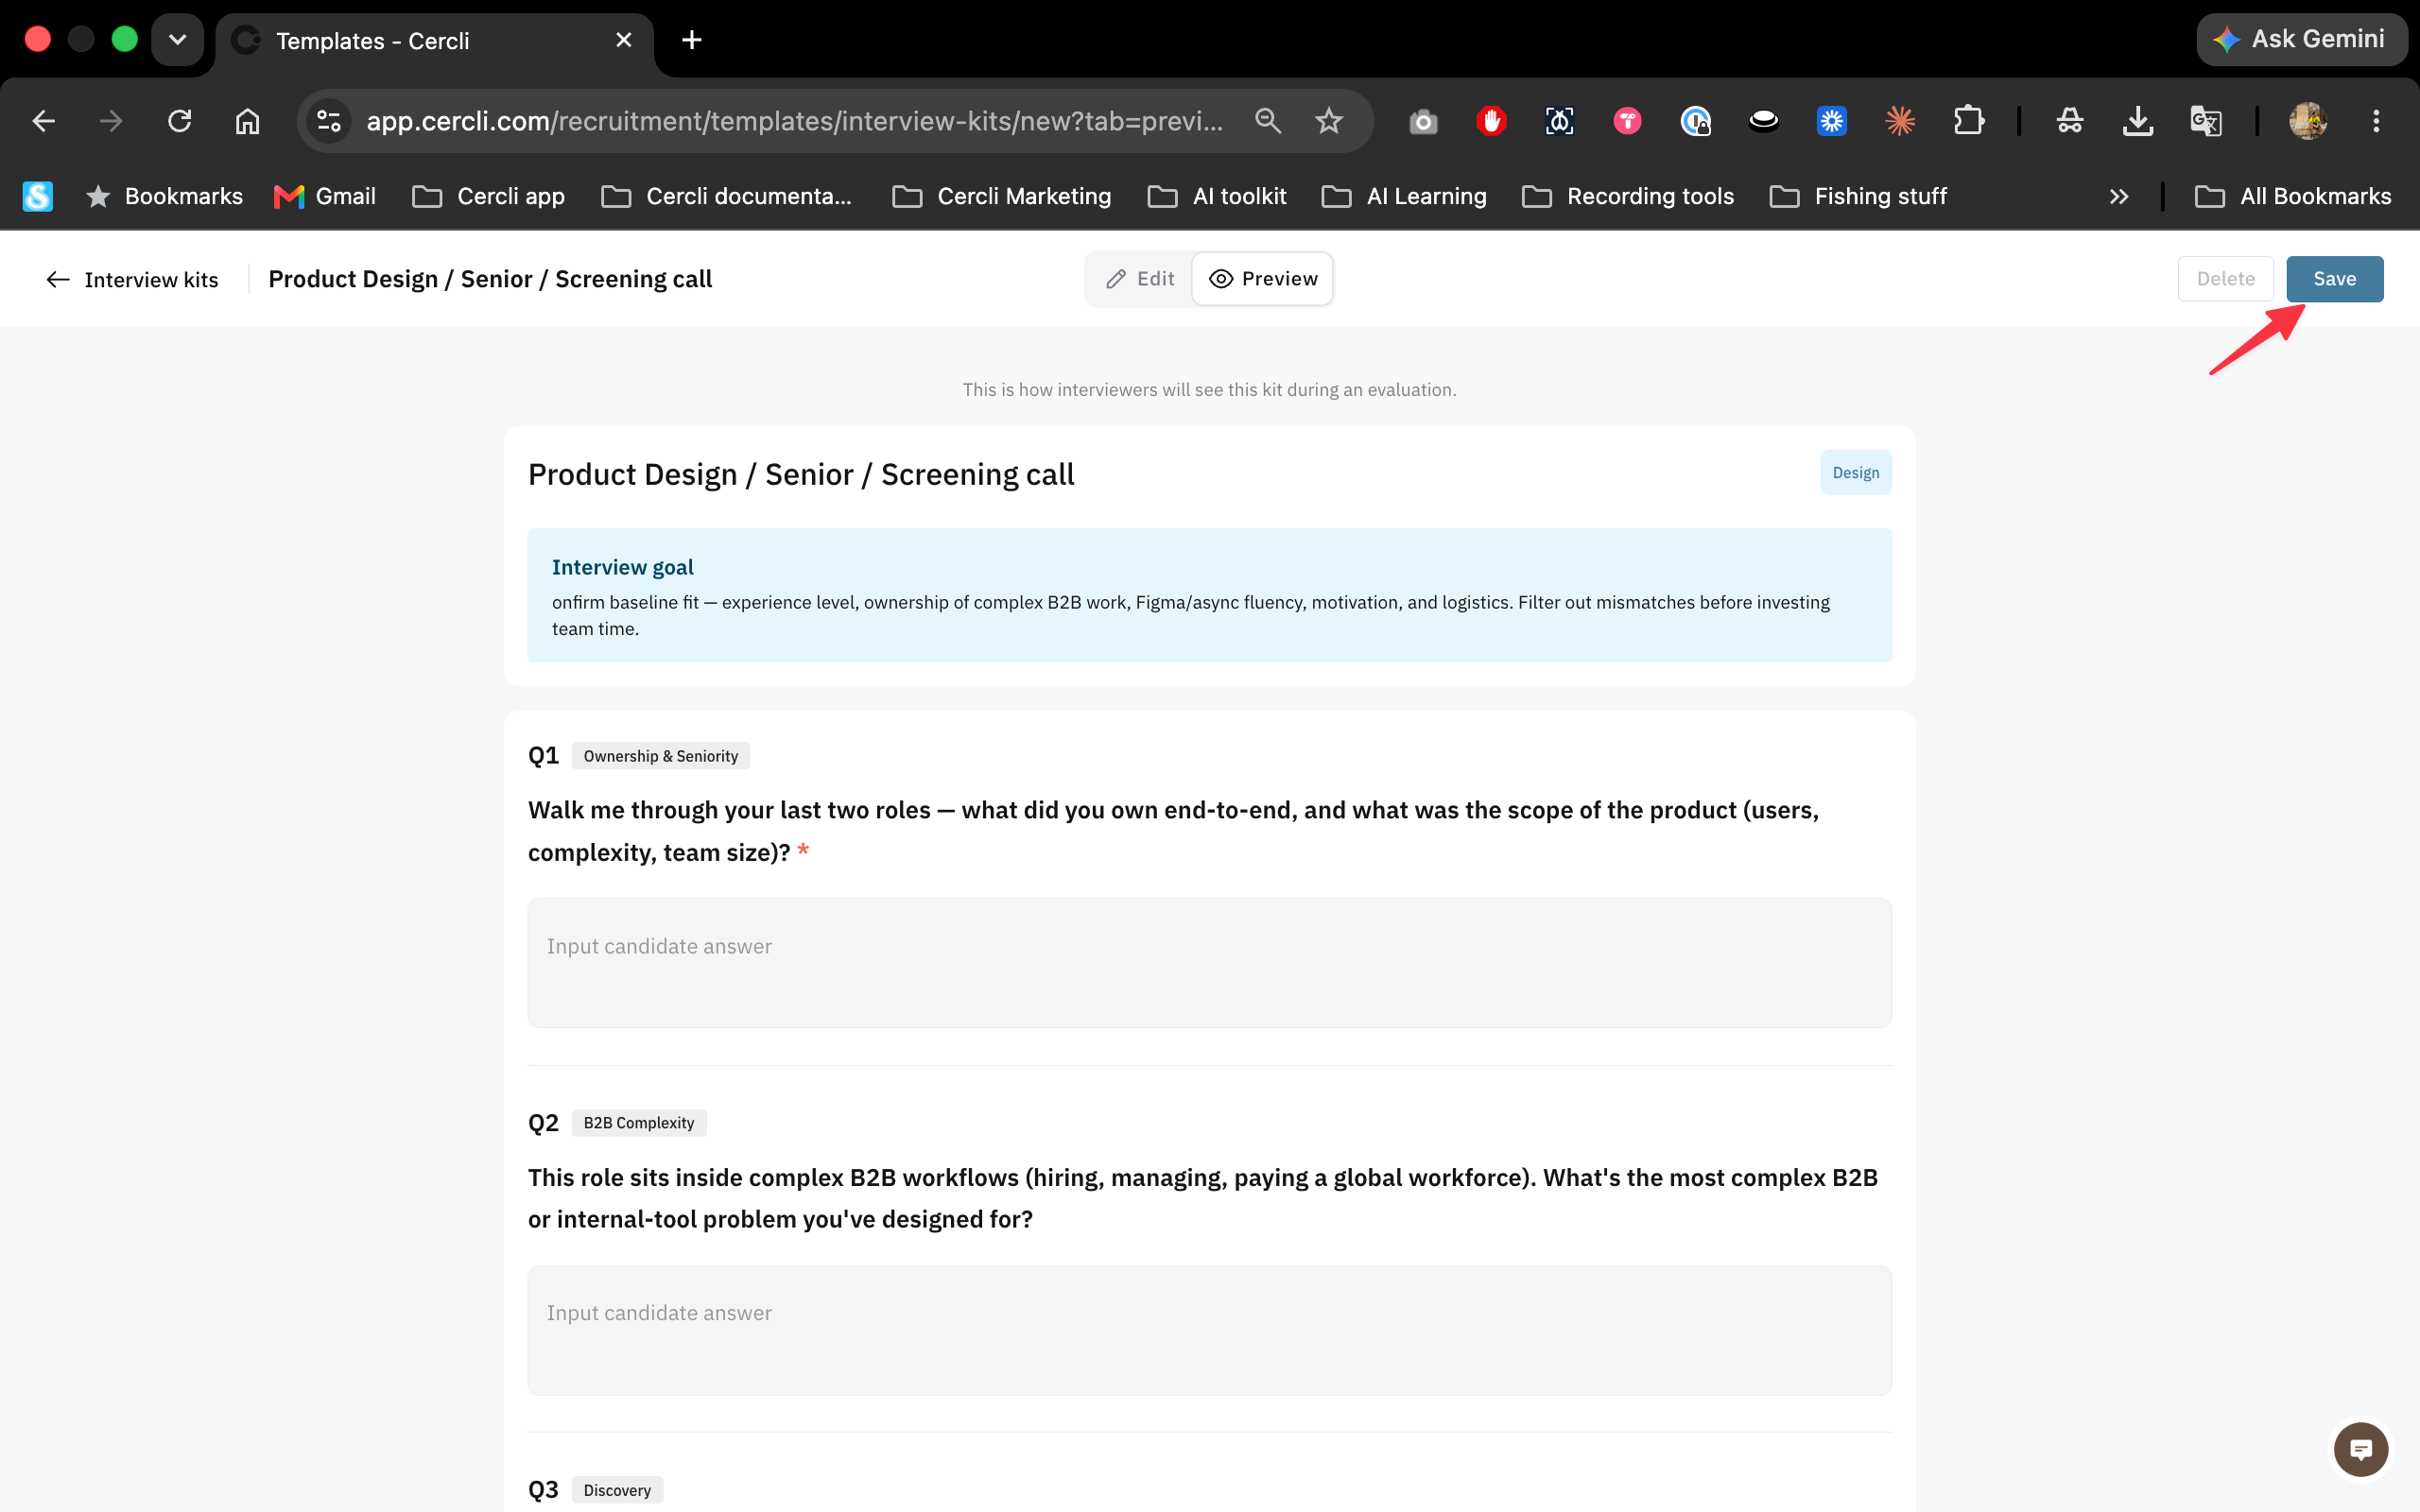
Once your questions are set, click the Preview toggle in the header to see how the kit will look to interviewers. Once it's ready, click Save — you're done.
How to Manage Interview Kits
Once you and your team have created multiple interview kits, reviewing and managing them is straightforward.
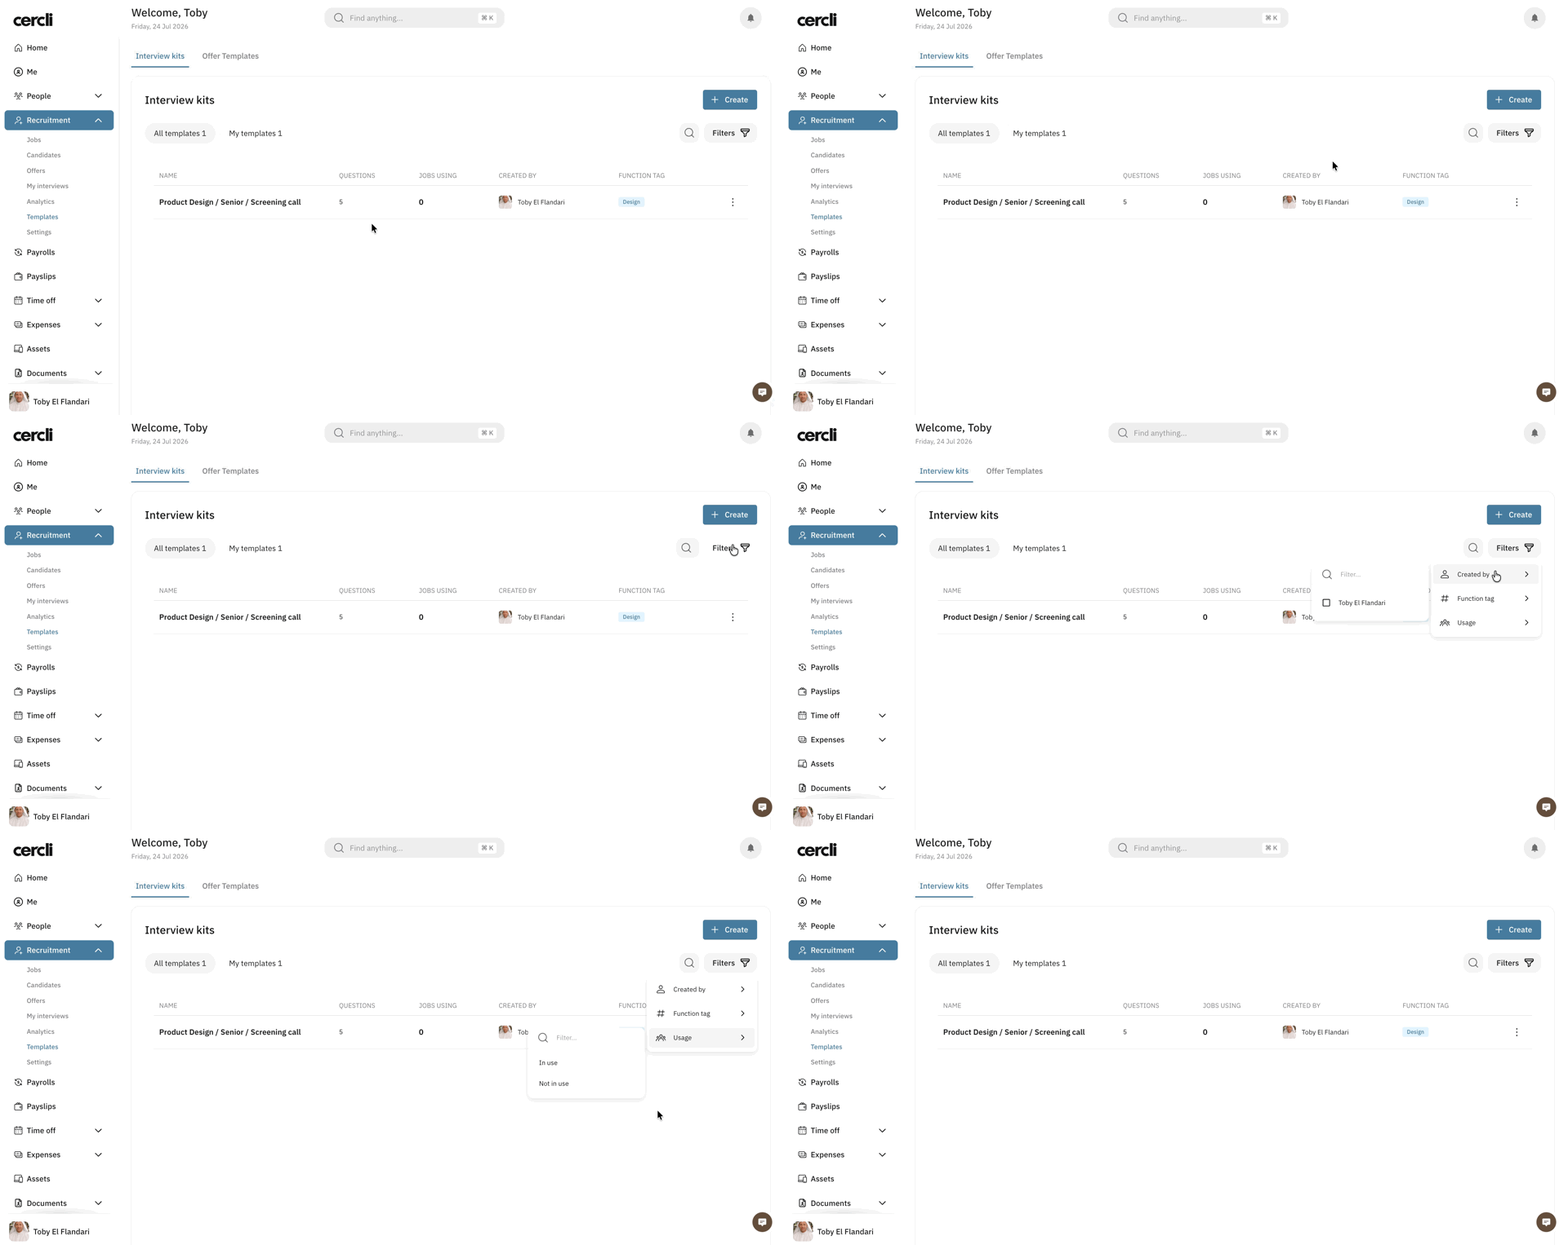
By default, you'll see all interview kit templates across your organization, including: kit name, number of questions, number of jobs the kit is added to, creator, and function tag.
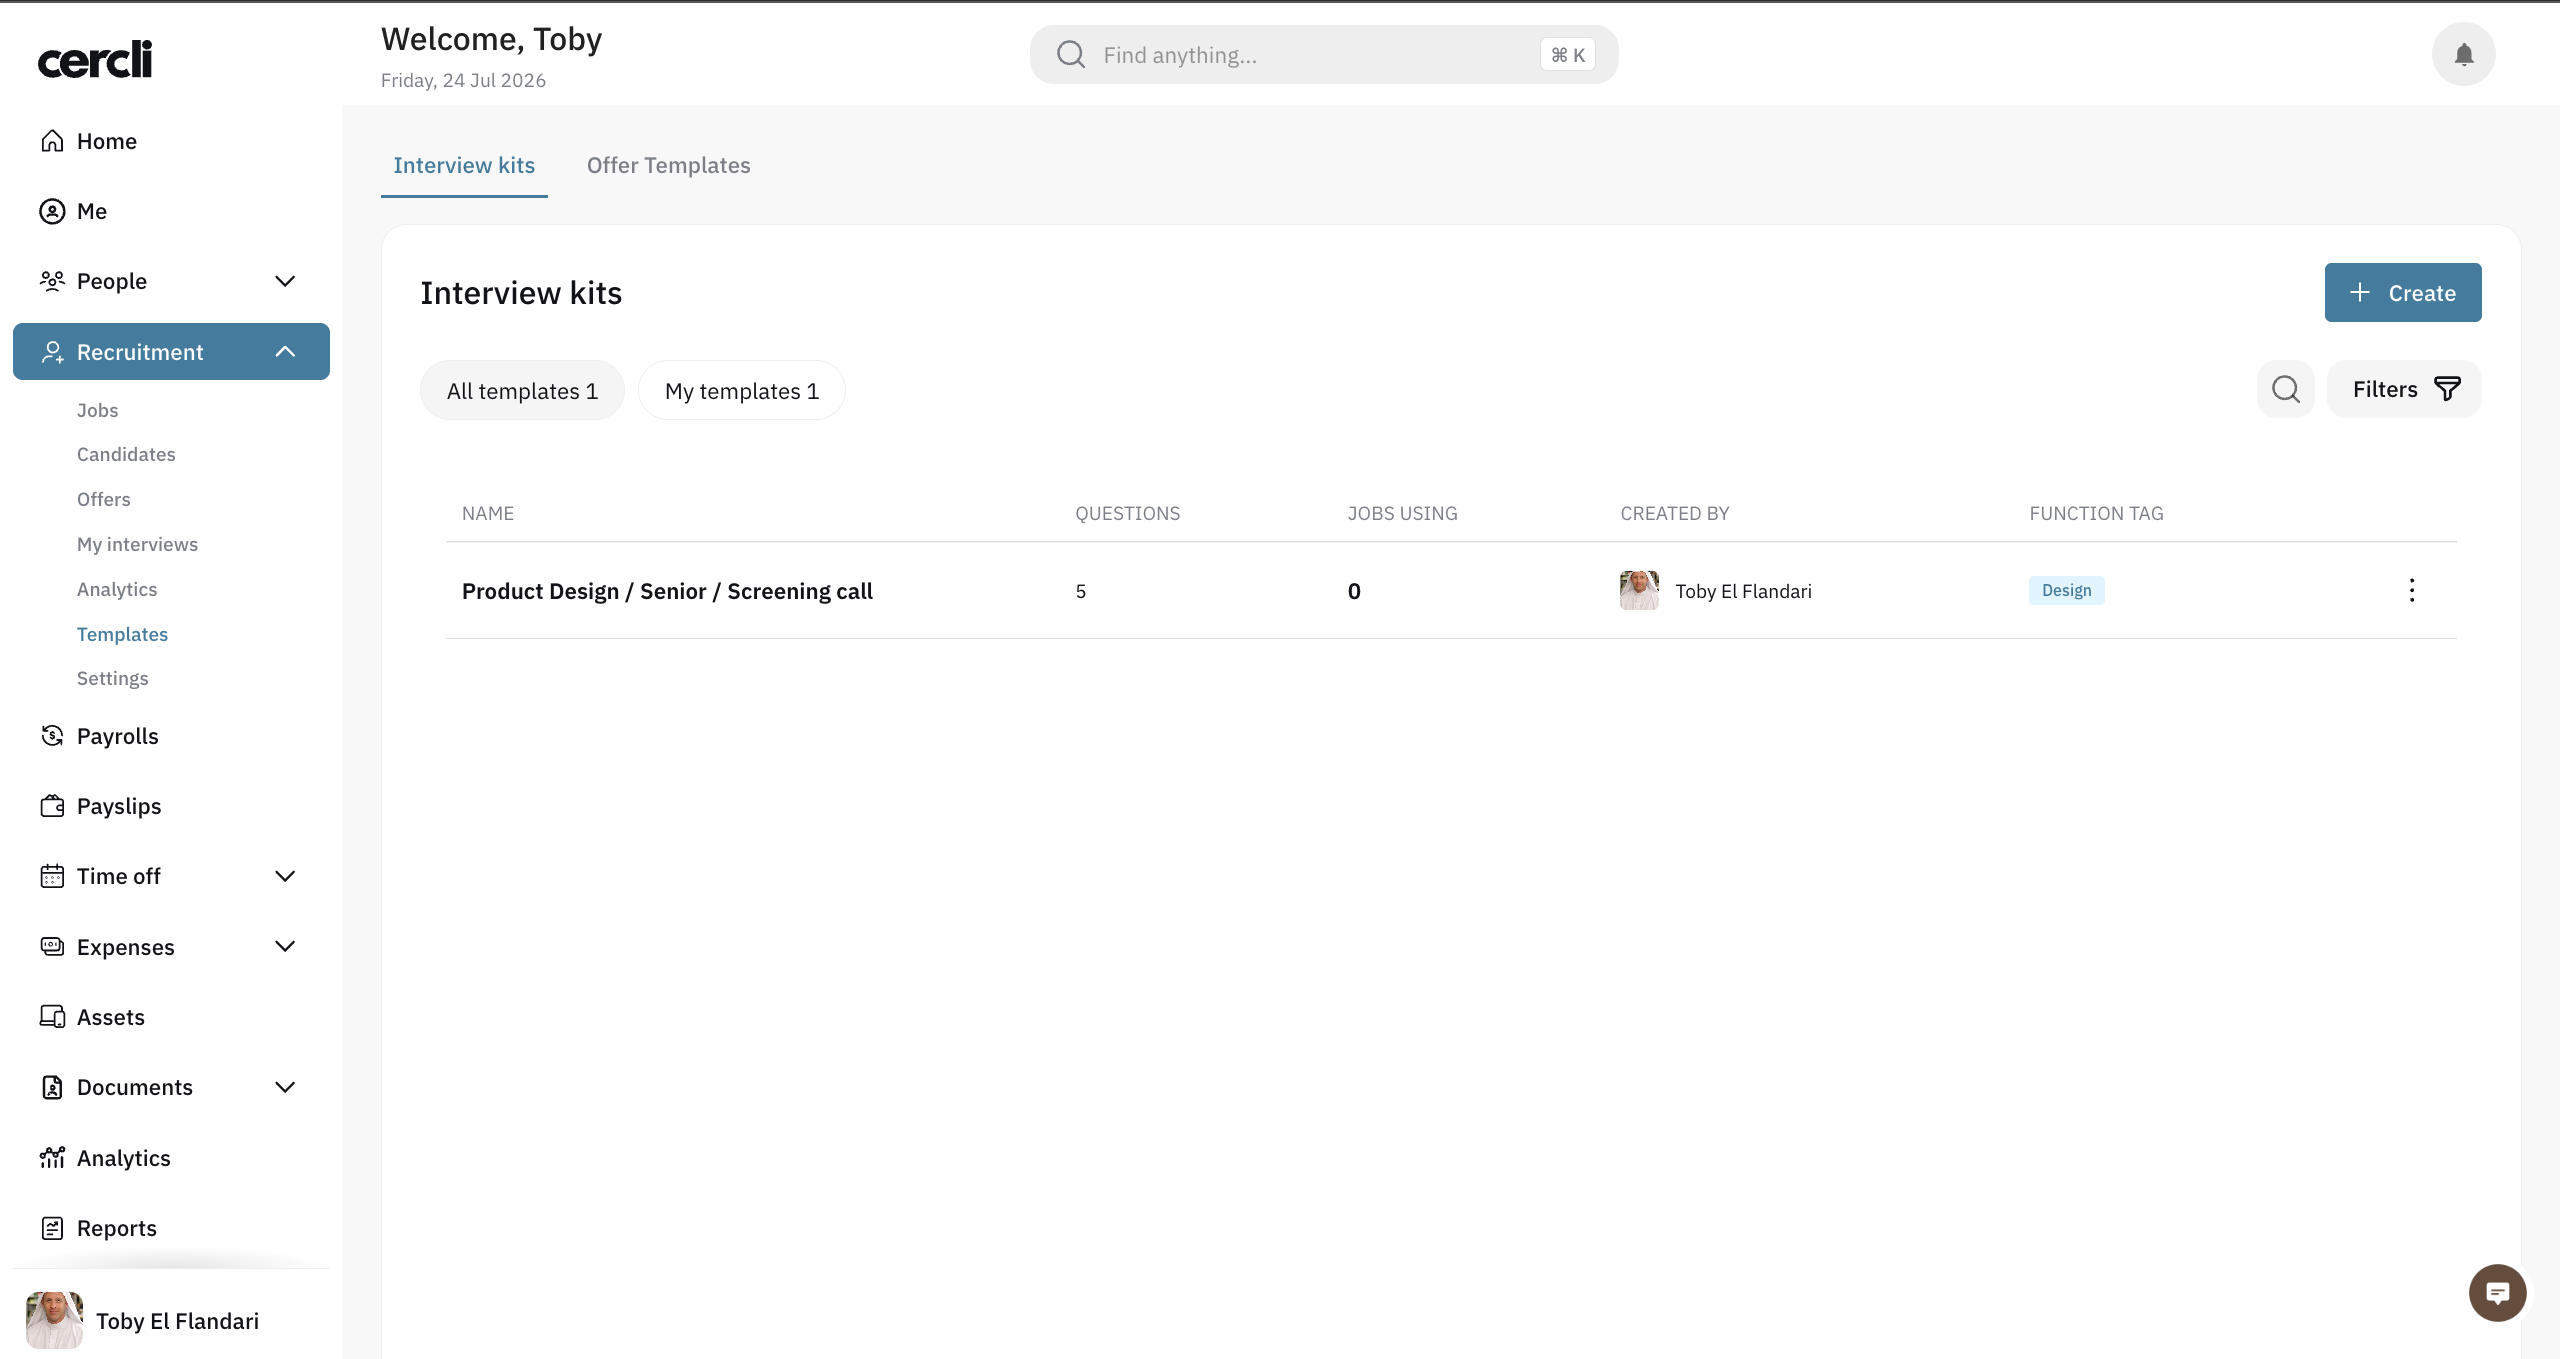
If you have many kits, use search or filters to quickly find the one you need.
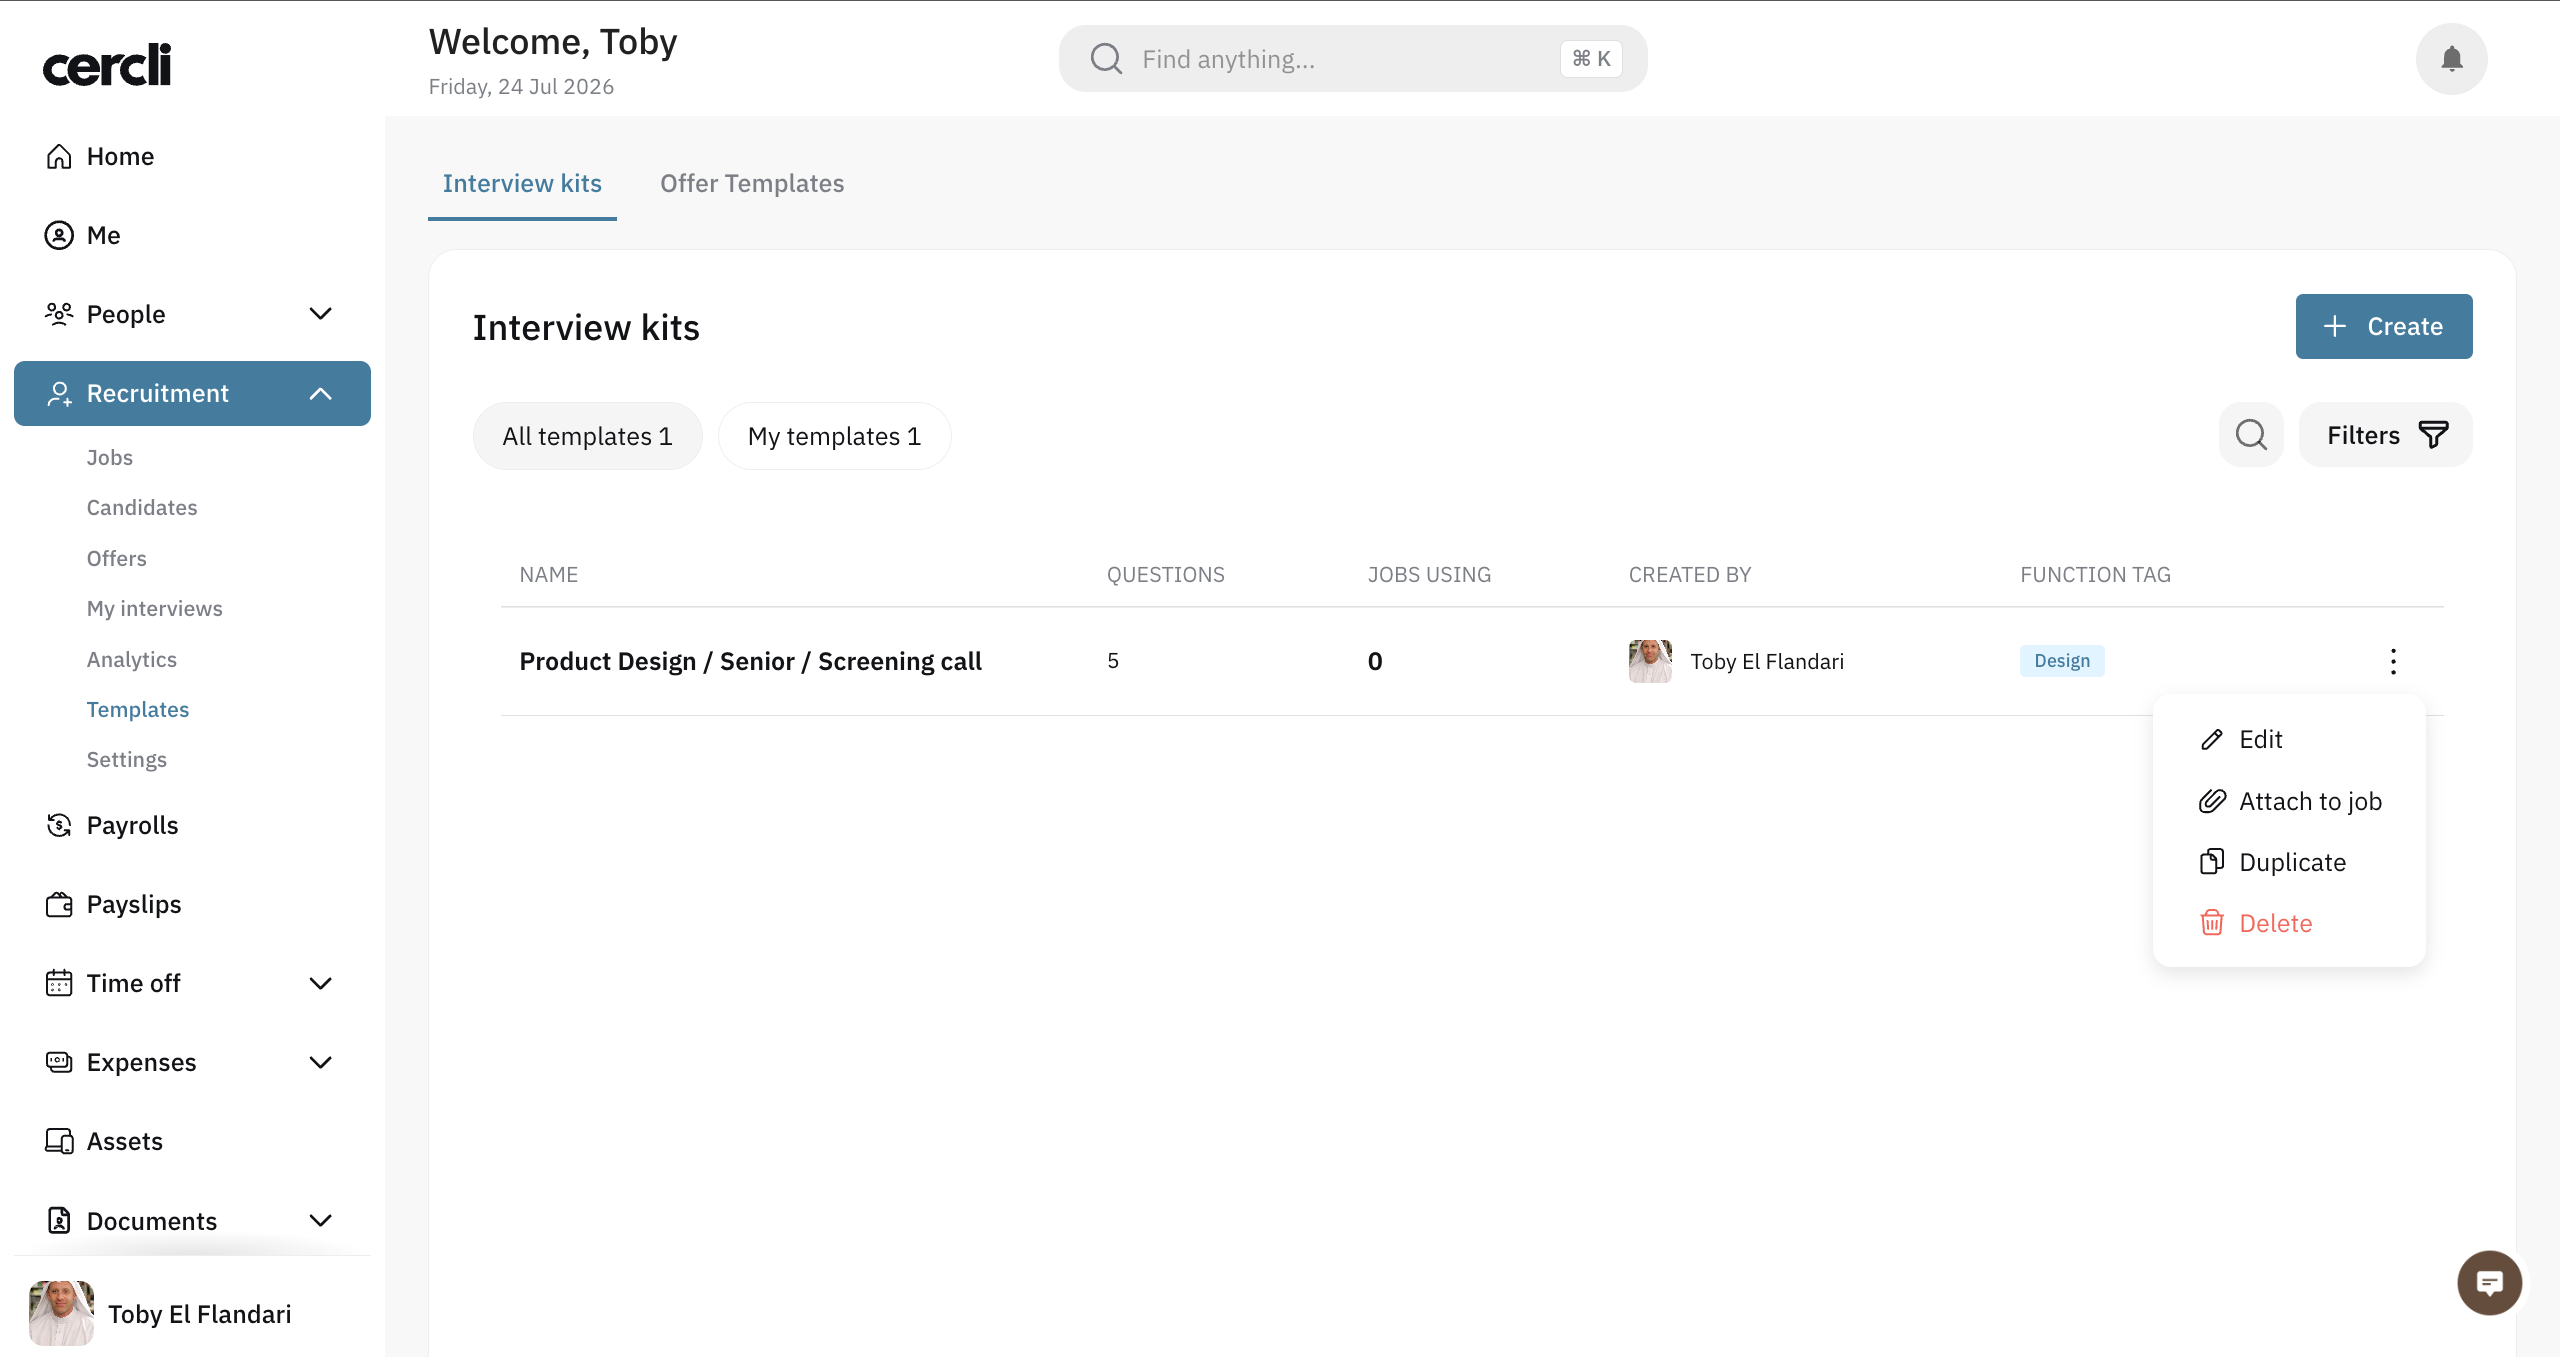
You can perform the following actions on an interview kit: edit/preview, attach it directly to a job and stage, duplicate, or delete.
Once everything is set, the next step is to assign the kit to the appropriate jobs and stages.